
How to Organize Your Craft Space In Five Practical Steps
Organizing your craft space can feel like an impossible undertaking. From messy materials to concerns about not having enough space, it is easy to give up before you even start. The good news is that organizing your crafts doesn’t have to be one big challenge! Breaking down the organizing process into these five practical steps will give you the confidence and encouragement you need to regain control of a space meant for relaxation and creativity.
Step One:
Visualize, visualize, visualize.
What does your crafting space look like when it’s perfectly organized? How does the space make you feel? What about it invites you to unwind and unleash your creativity? Visualizing your perfect space allows you to be realistic about what you need to accomplish, but it also gives you a glimpse of how worth it the process will be in the end.
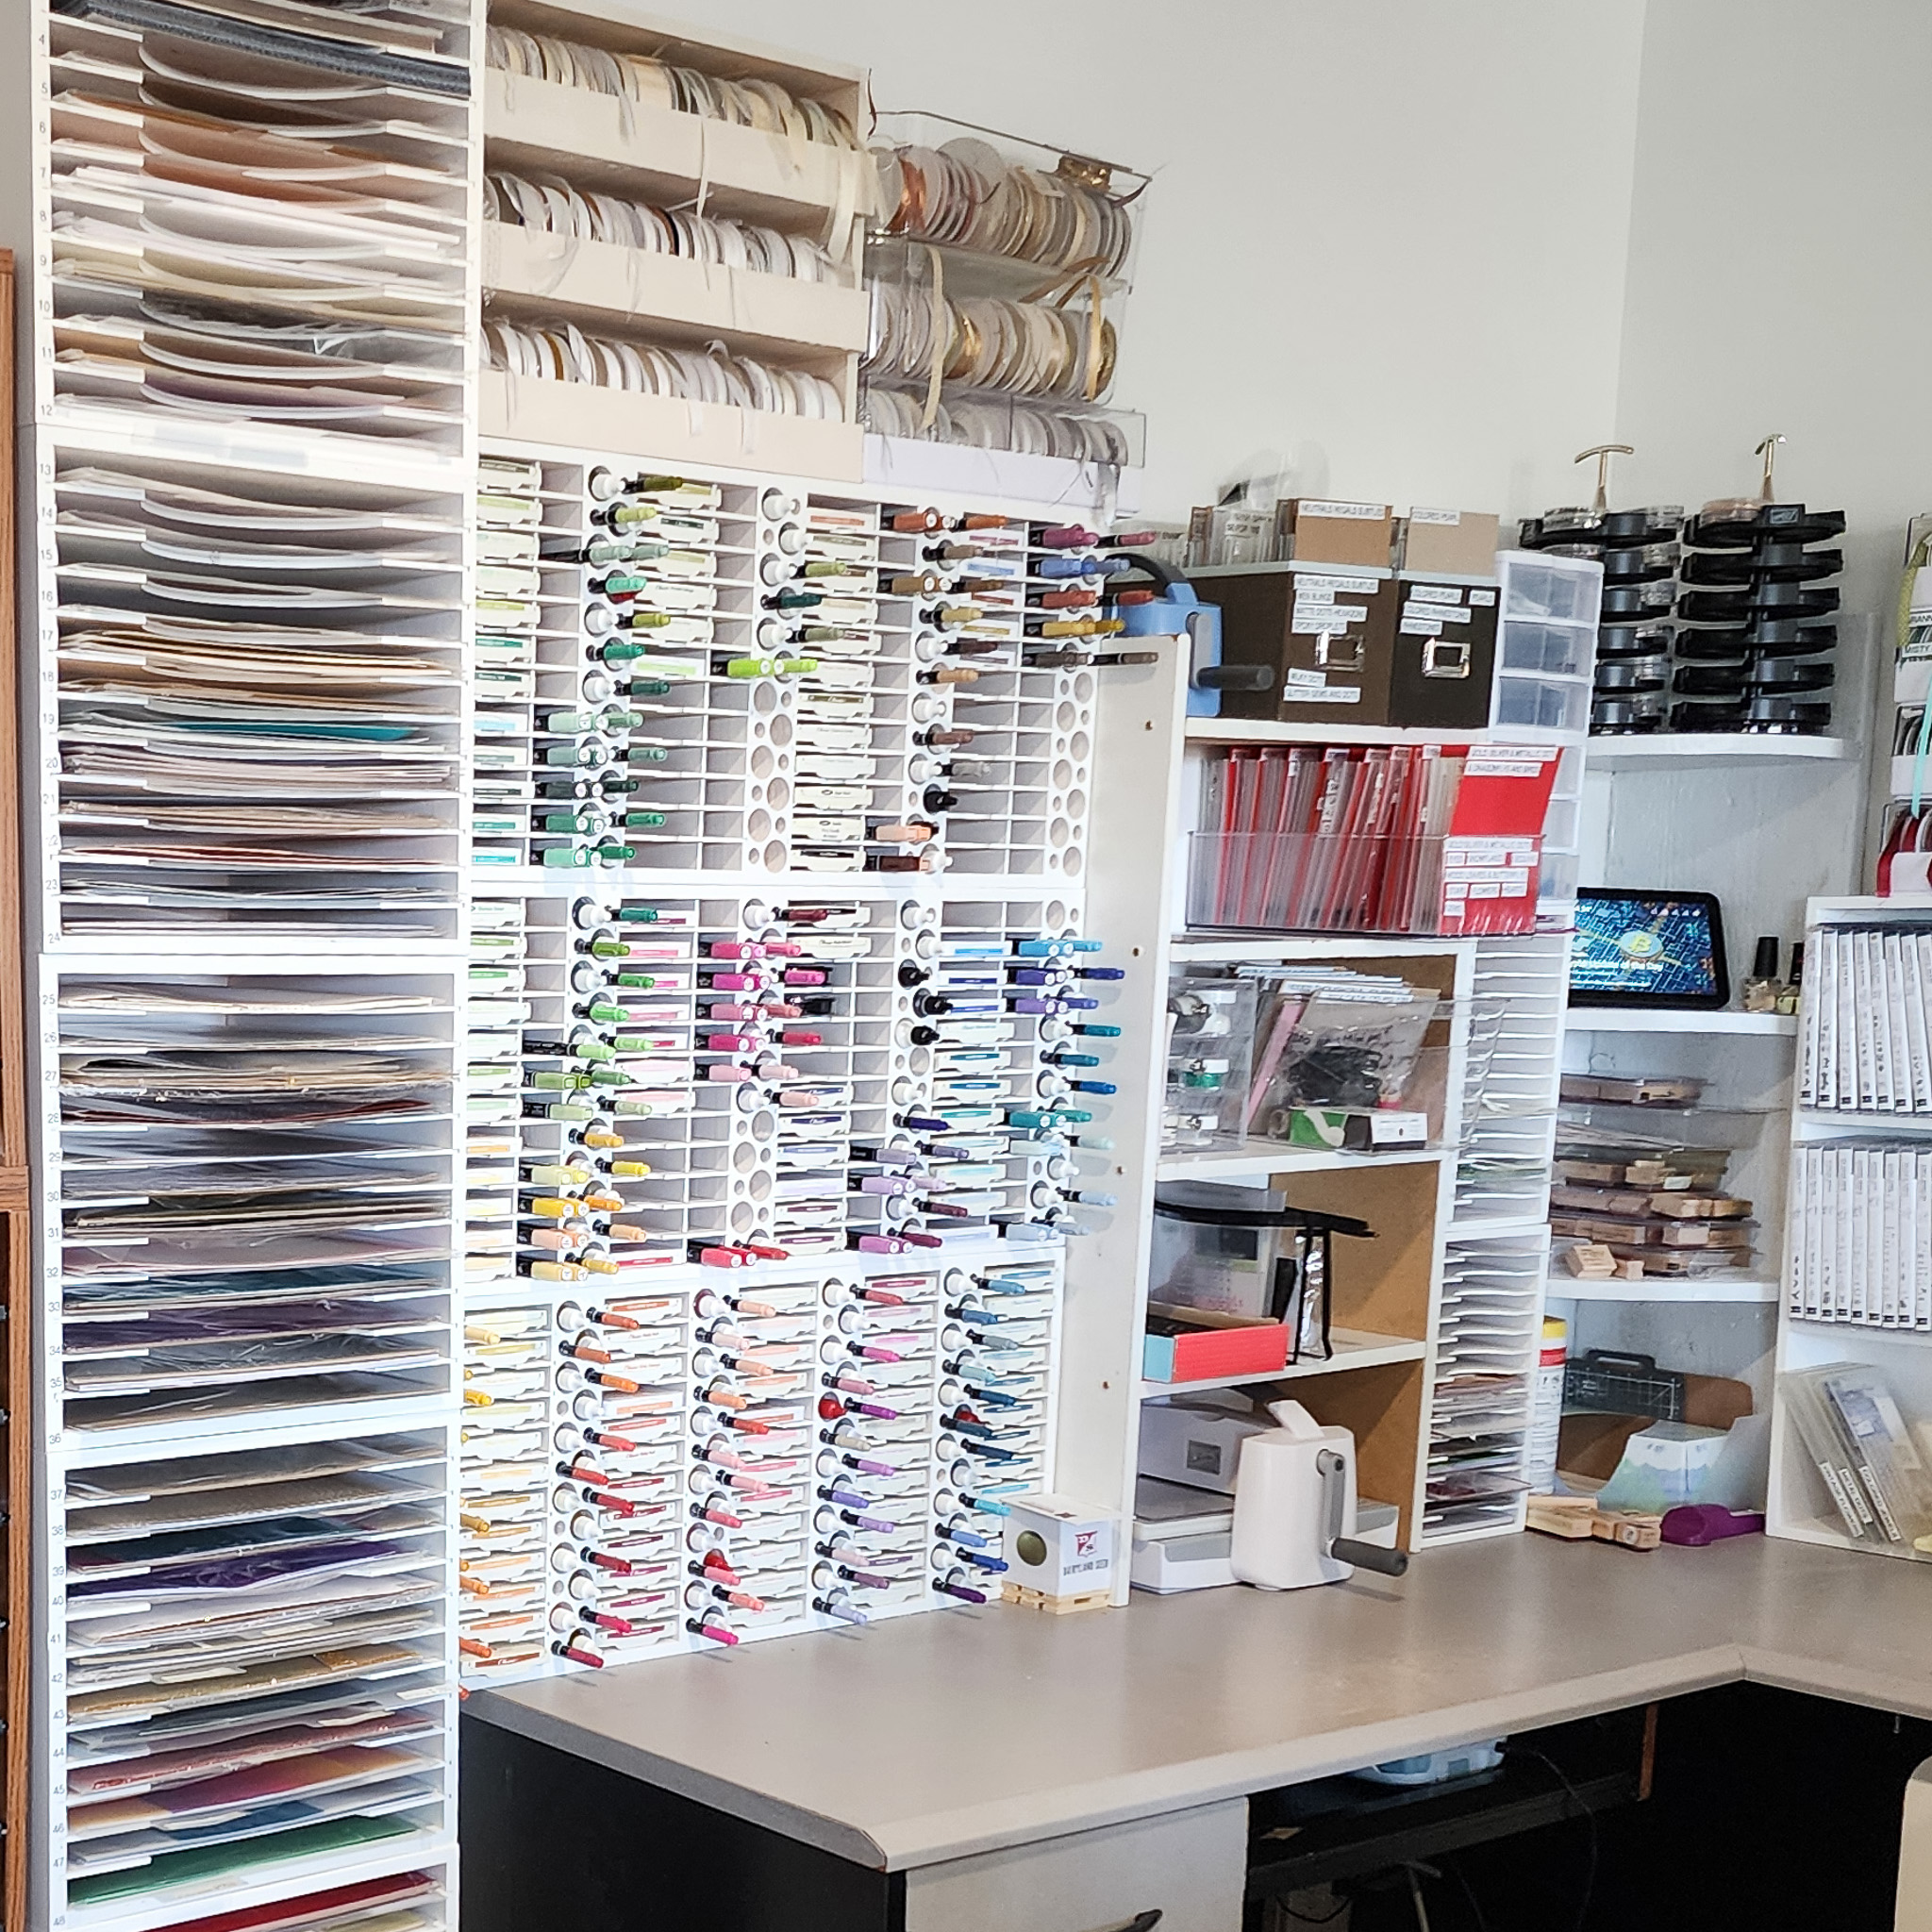
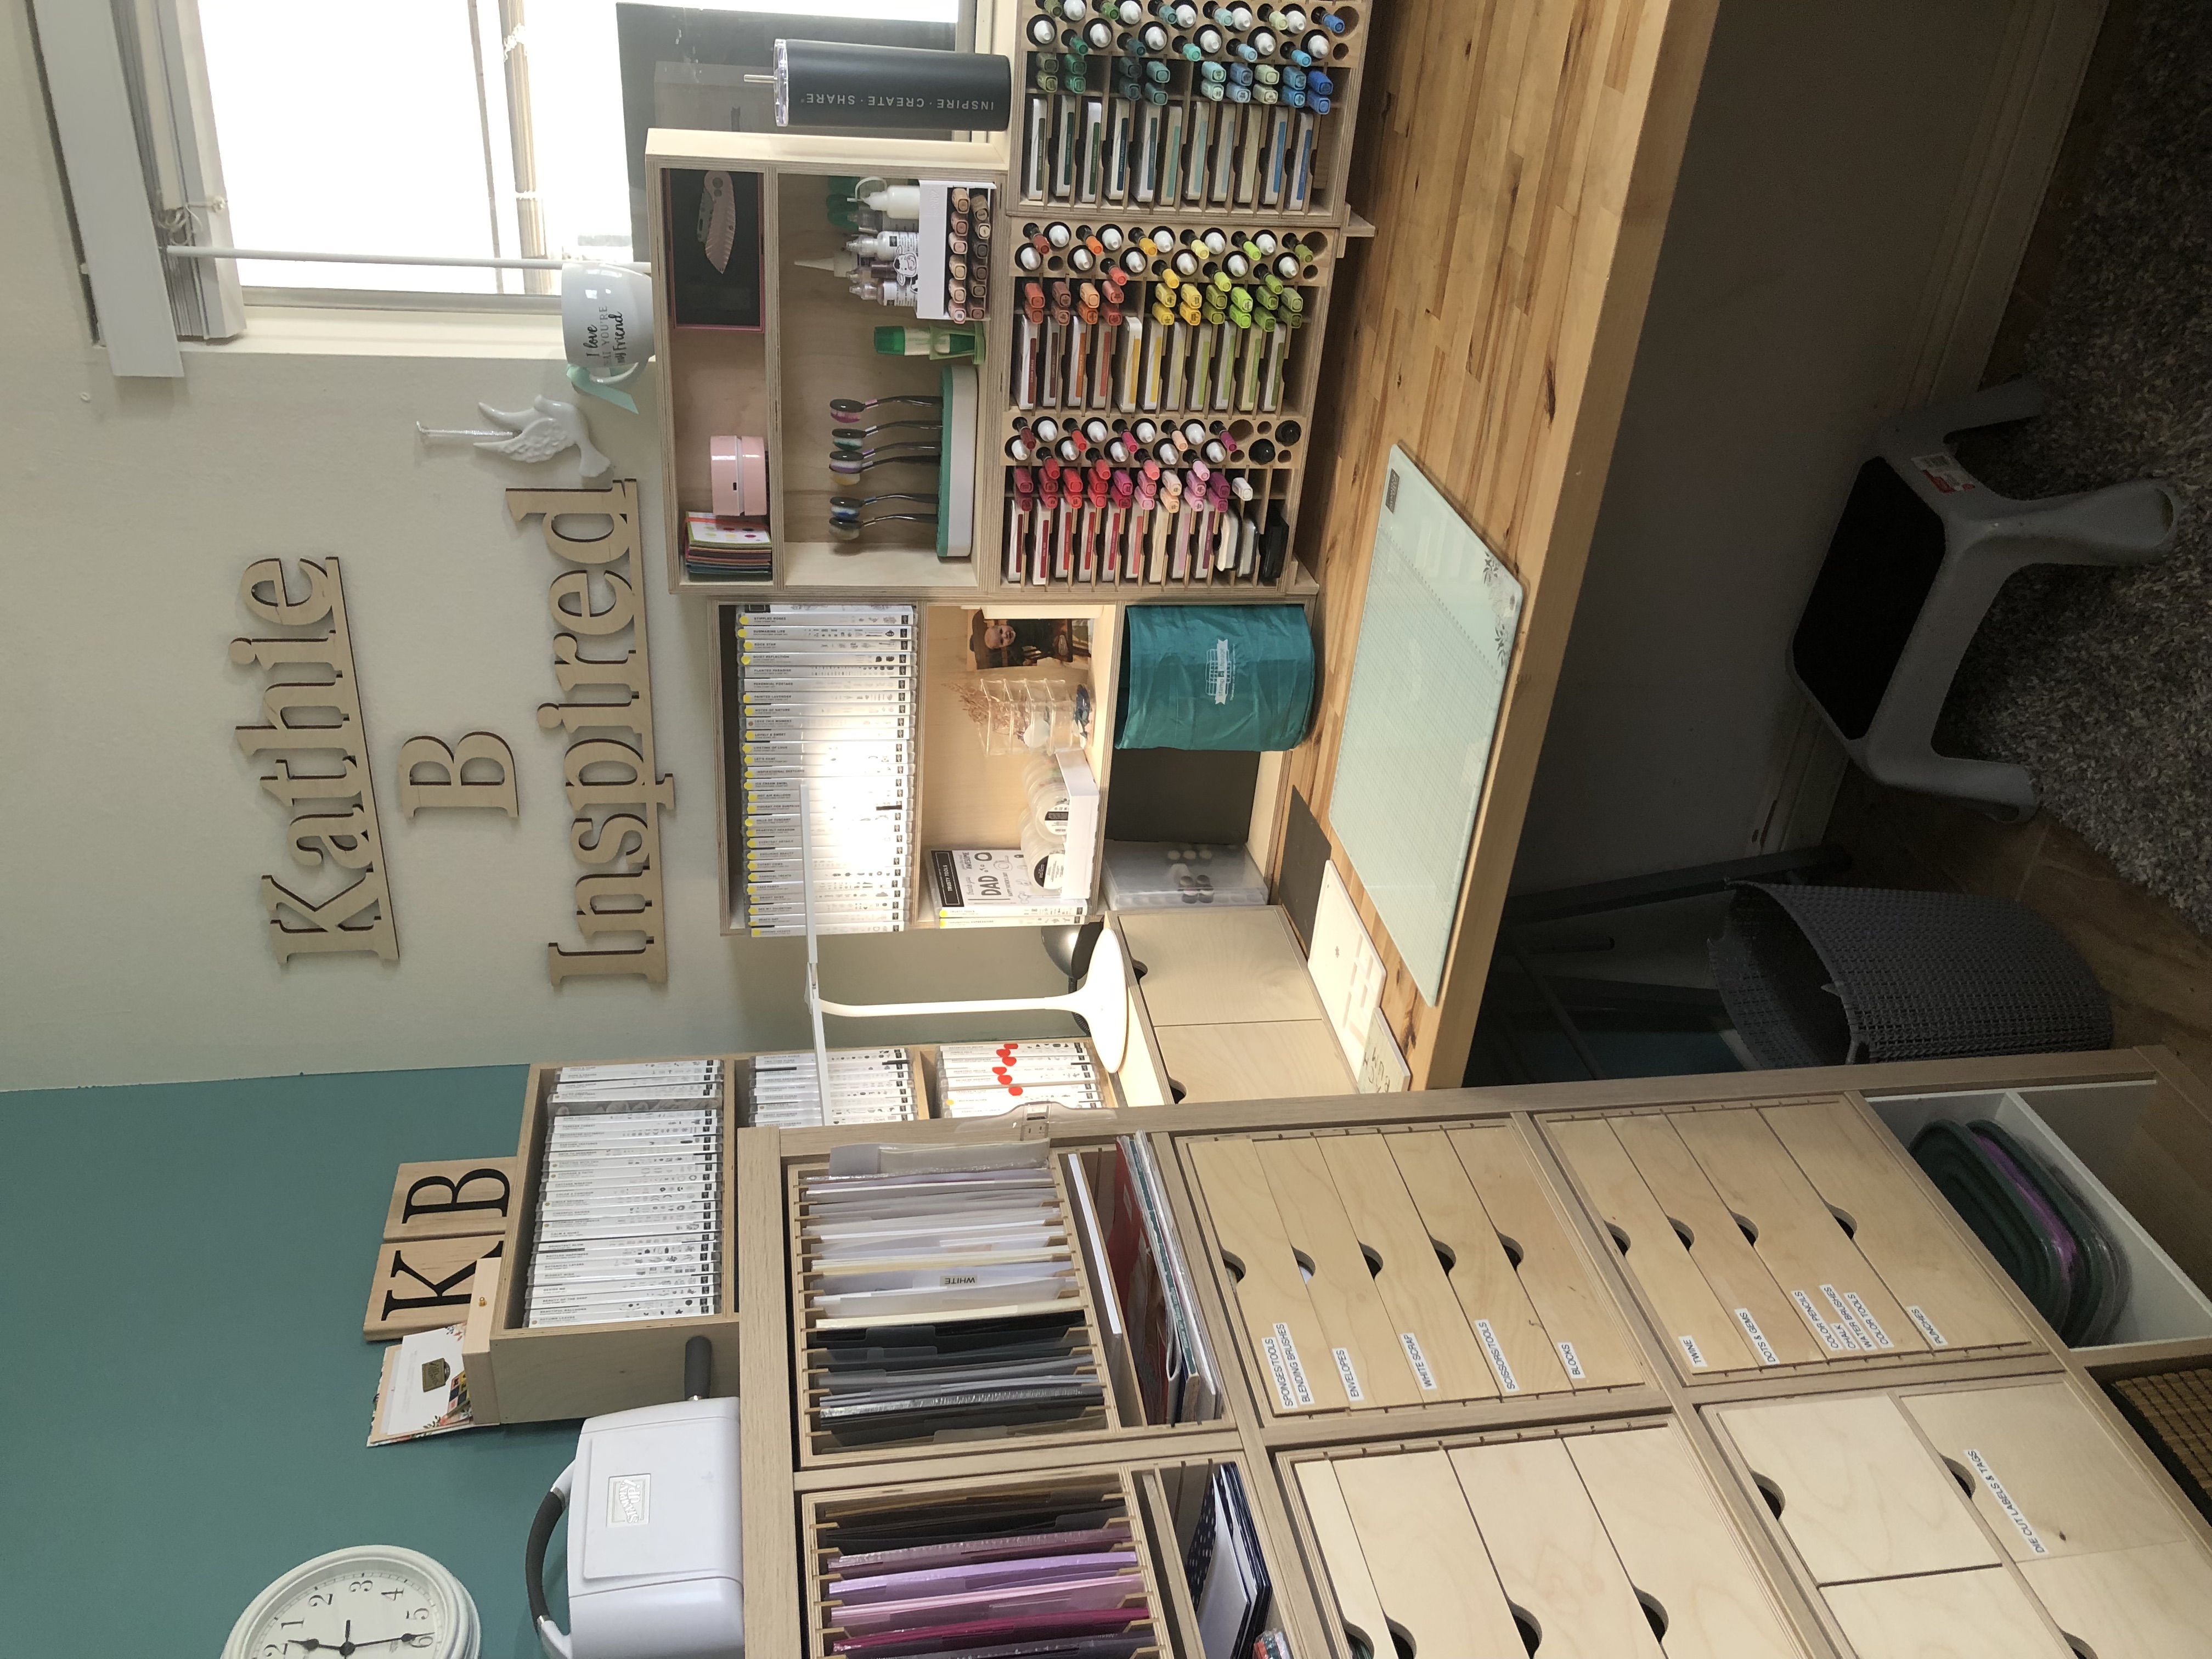
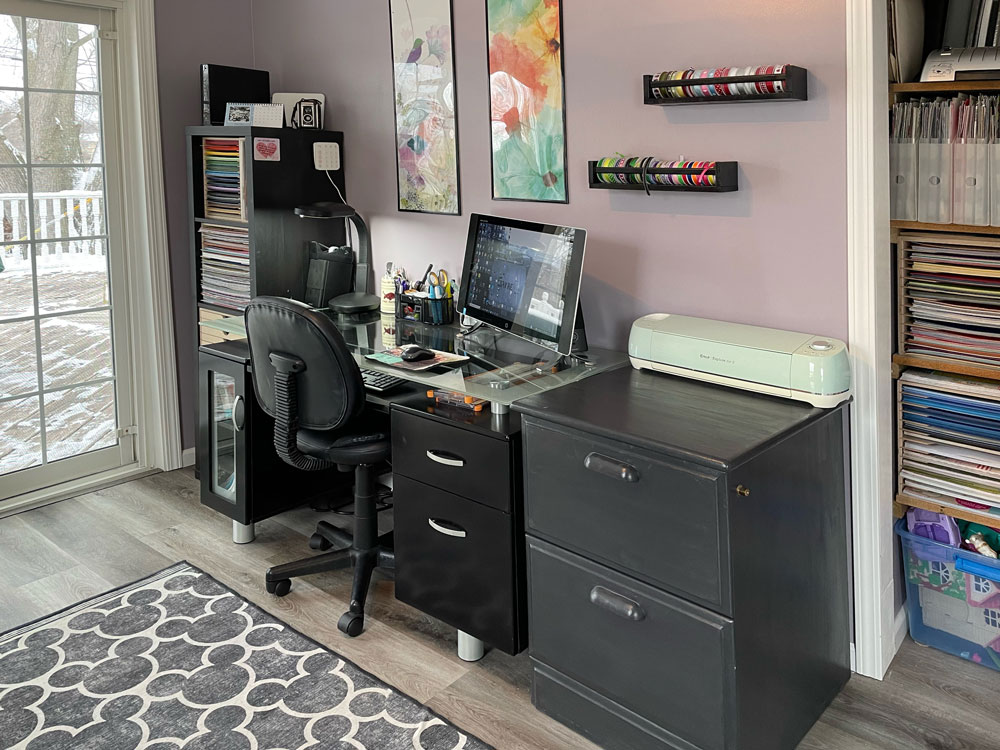
Need some ideas? Check out these studio showcases!
Step Two:
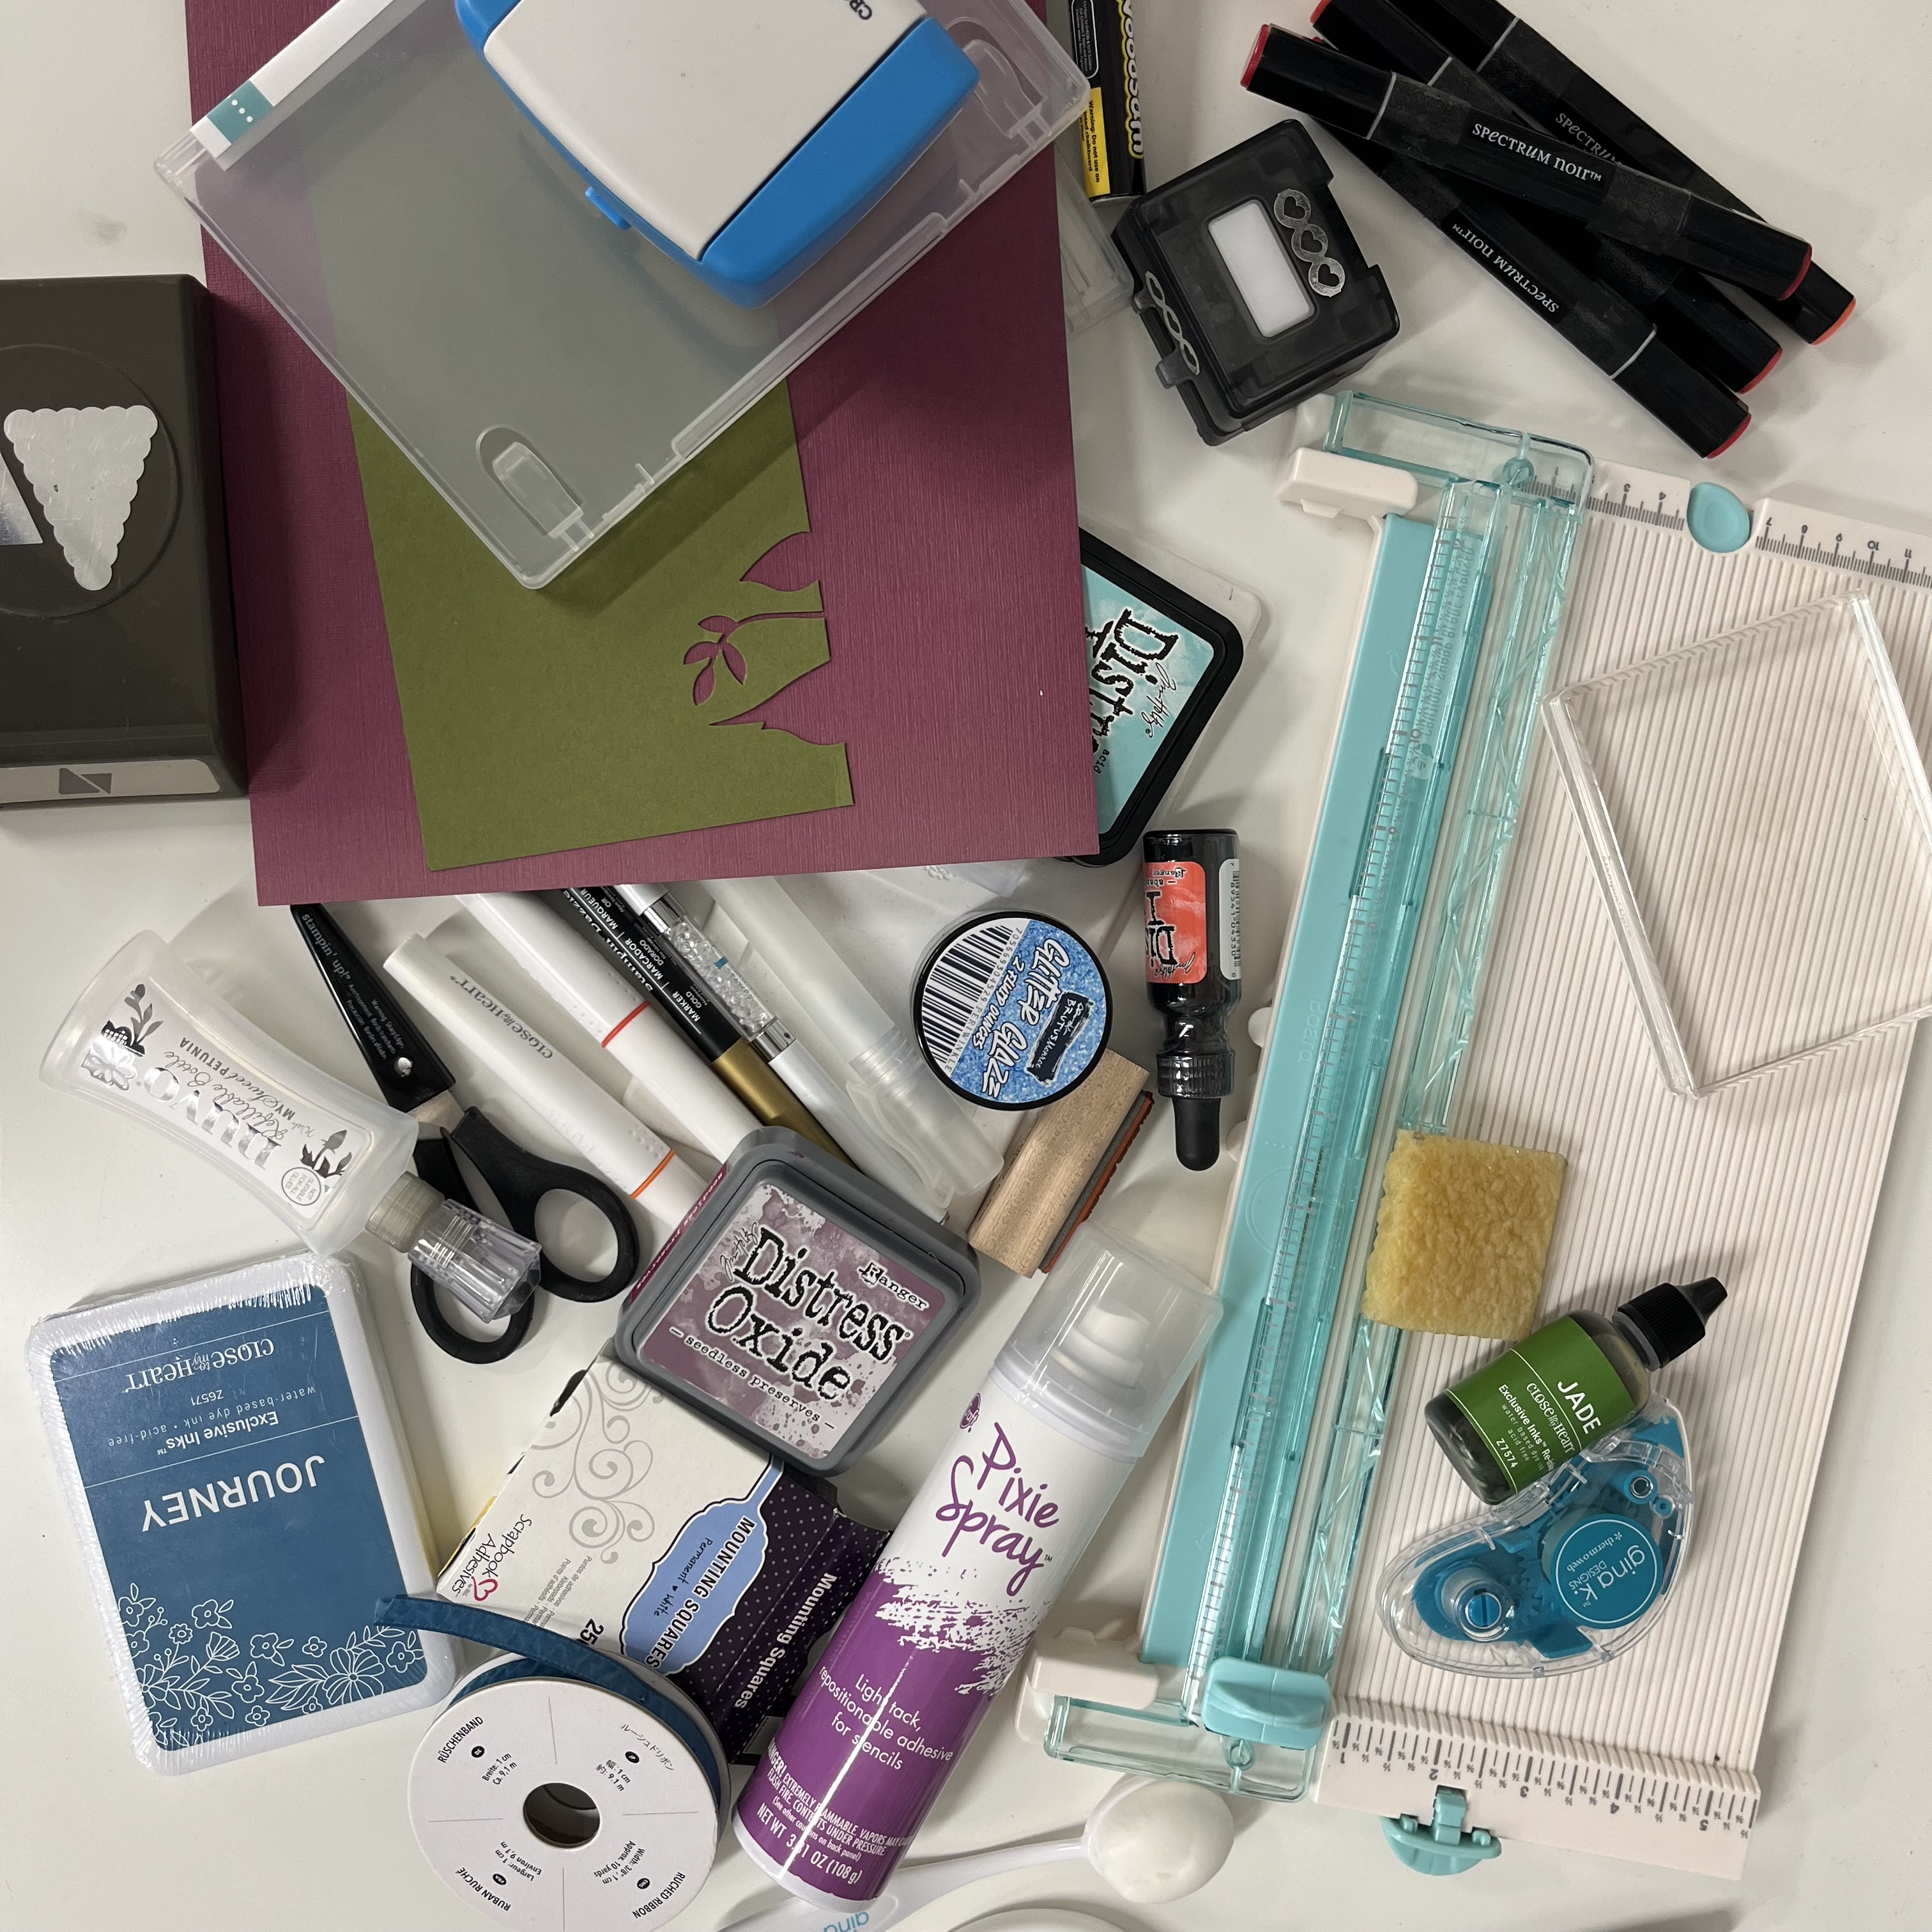
Make a bigger mess.
While this step might seem counterintuitive, taking all of your supplies out of hidden compartments and dusty boxes allows you to consider which supplies are worth keeping and which ones have yet to see the light of day. Laying out all of your supplies doesn’t mean just throwing them into one nonsensical pile. Use this time to lightly categorize items by color, type, season, or material. Be sure to keep a separate pile for old markers, pens, or other worn-out pieces.
Step Three:
Release, recycle, refresh.
Now that you can differentiate between which supplies are “a must” and which are “a bust”, you can say hello to your new best friends, waste/recycling bins. While getting rid of old or unnecessary supplies is difficult, just picture your future self in that stress-free space cheering you on. Take this time to clear out any non-crafty clutter too! Feel free to vacuum, dust, and deep clean all of the spaces you could never get to before.
“Art is the elimination of the unnecessary.” – Pablo Picasso
Step Four:
Map it out.
Now that everything is out of place, it’s time to find a new home for each pile (or category) of supplies. If you haven’t already counted and categorized each item that you chose to keep, be sure to do that before moving on. Utilize Stamp-n-Storage’s free downloadable Craft Inventory Chart to note the quantity and dimensions of each supply, and leave the “Storage Location” column blank until you’ve finished organizing. Do you prefer drawers or cabinets? Does seeing your cardstock assorted by color spark your creative side? Which items should you keep closest to your work area? These are all questions you can ask yourself to determine which storage solutions are right for you.
Step Five:
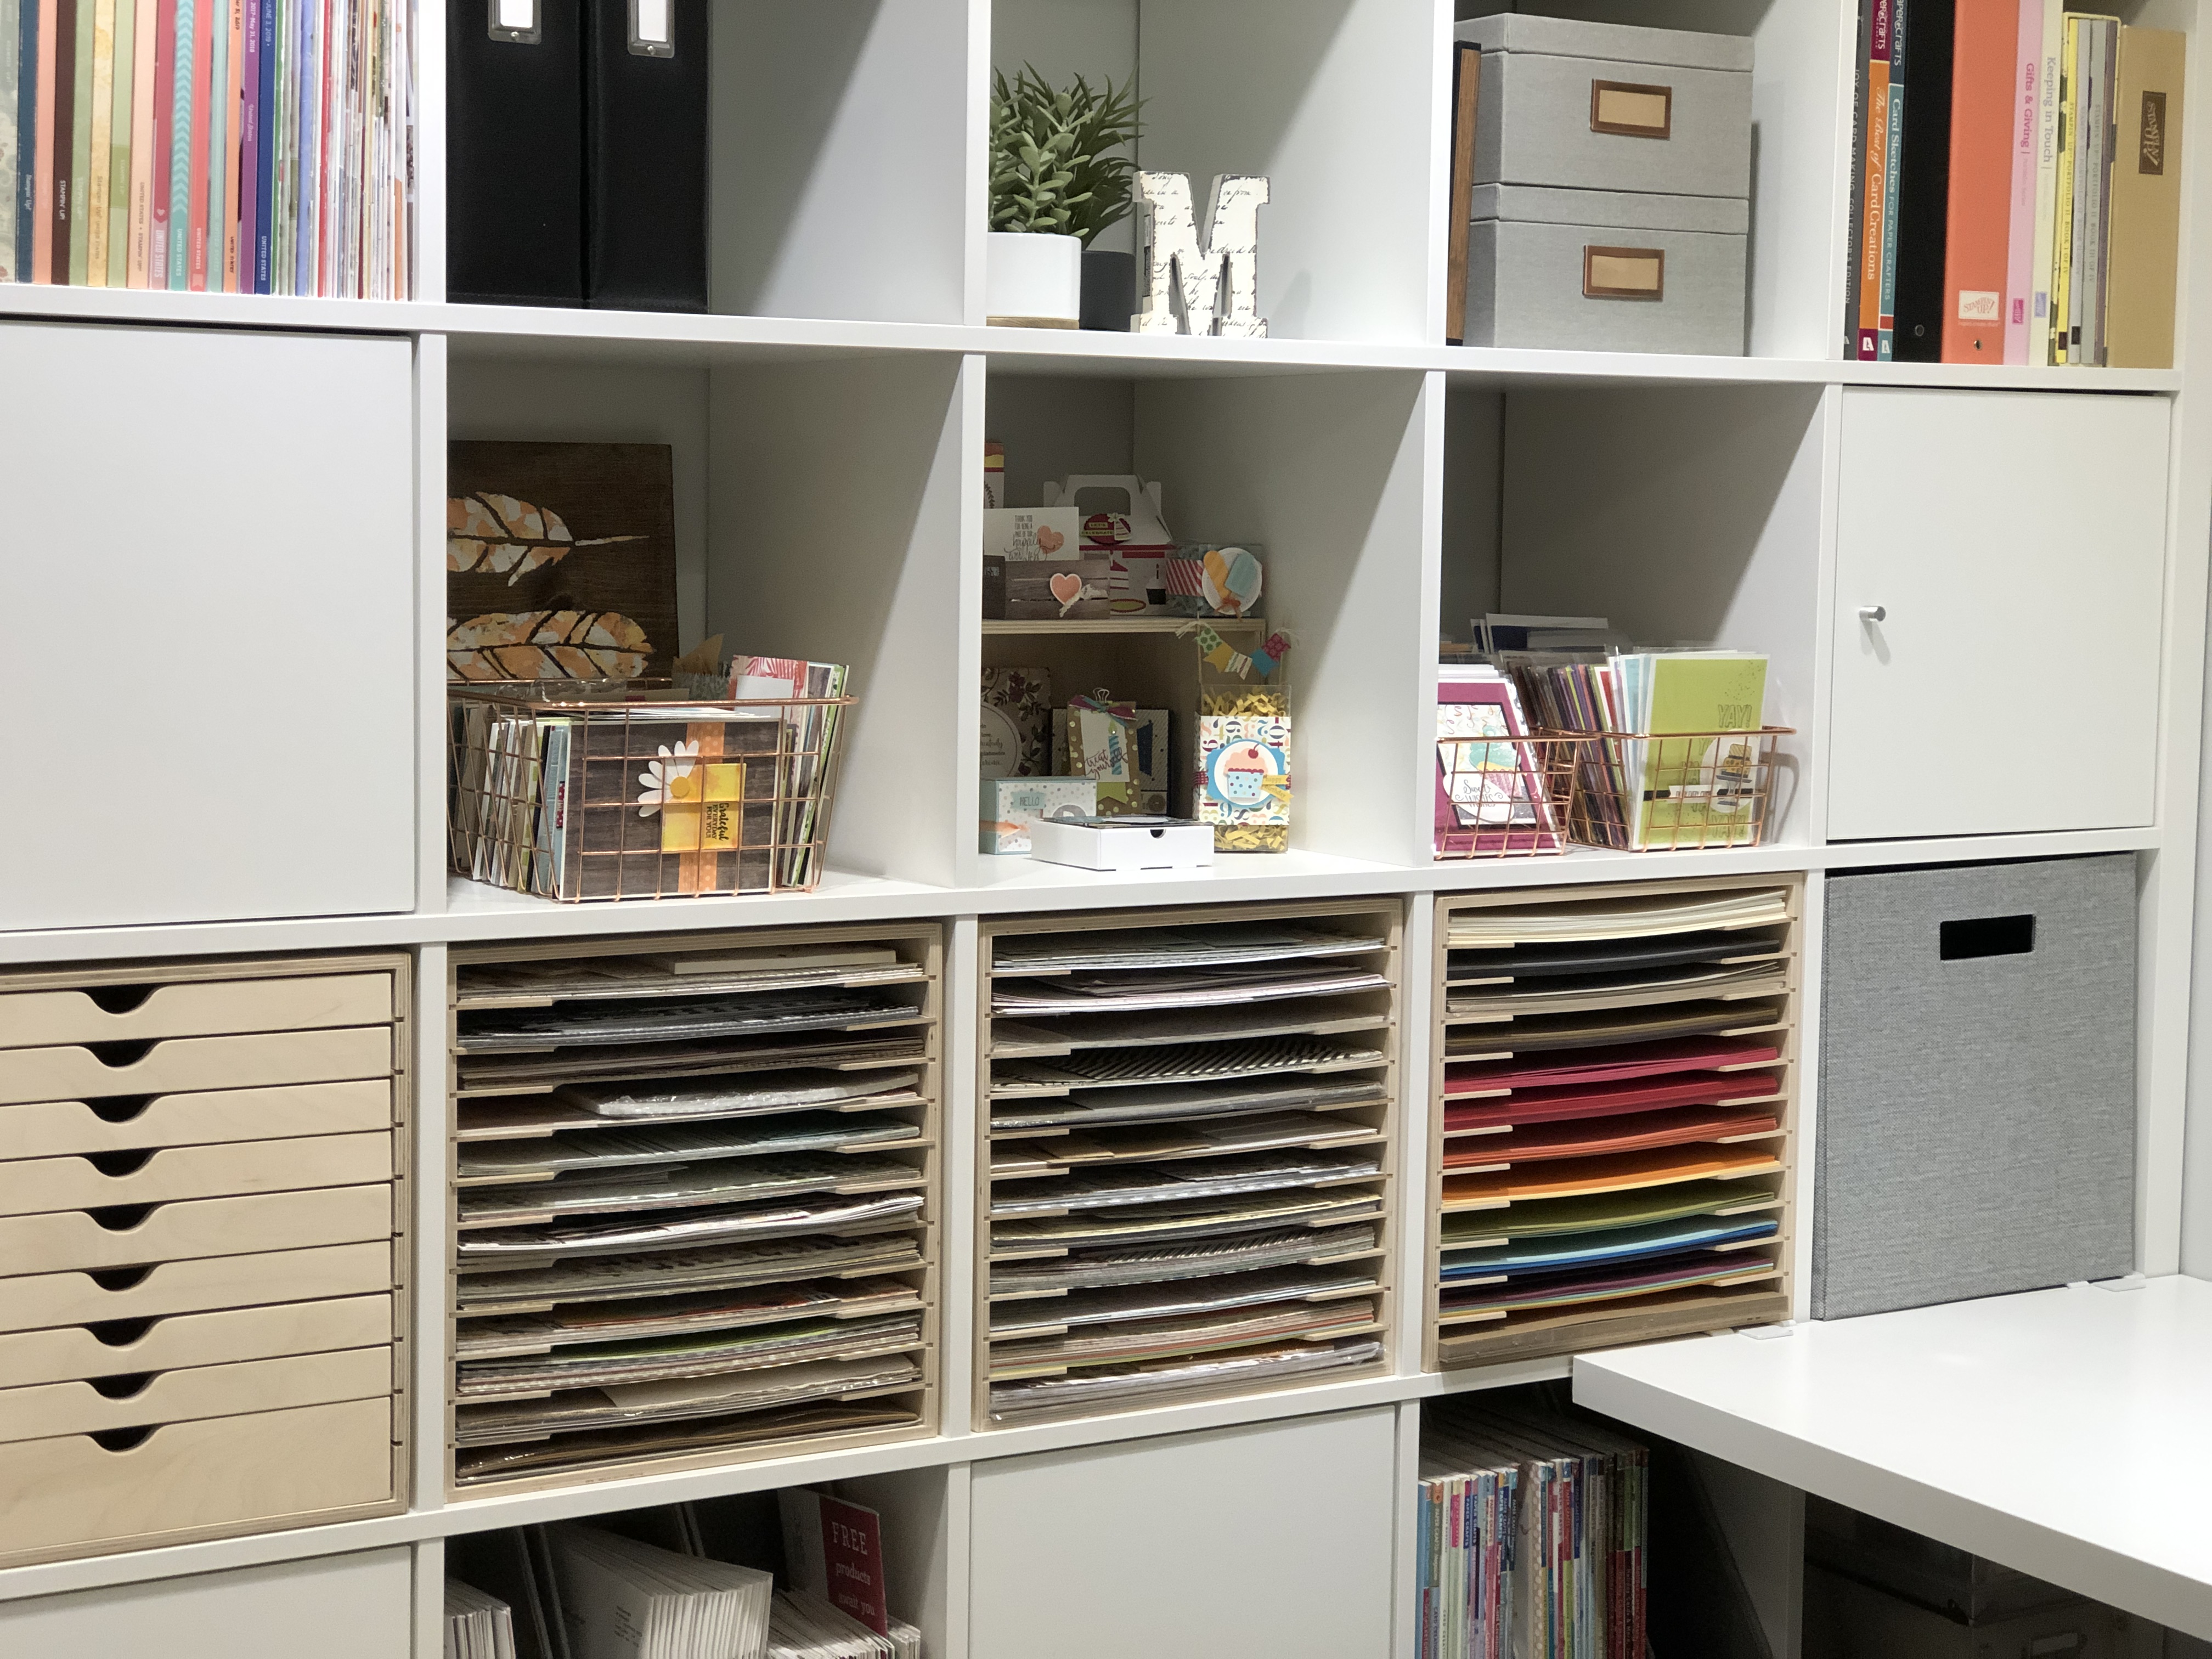
Make it pretty.
Time for the fun part! Now that you’ve done all the dirty work, the last step is super simple – just put it all away! Take your carefully collected and categorized supplies and file them into your reimagined craft storage spaces. Now that all of your supplies are neatly put away, do one last check and make sure everything is in an accessible and practical location.
Sit back, take a deep breath, and pat yourself on the back. You did it! This beautiful crafting space is all thanks to your hard work and now it’s time to enjoy it. Organizing your space might take time, but the effort more than pays off in the end.
Remember to take the stress out of craft organization by following these five practical steps:
- Visualize, visualize, visualize.
- Make a bigger mess.
- Release, recycle, refresh.
- Map it out.
- Make it pretty.