
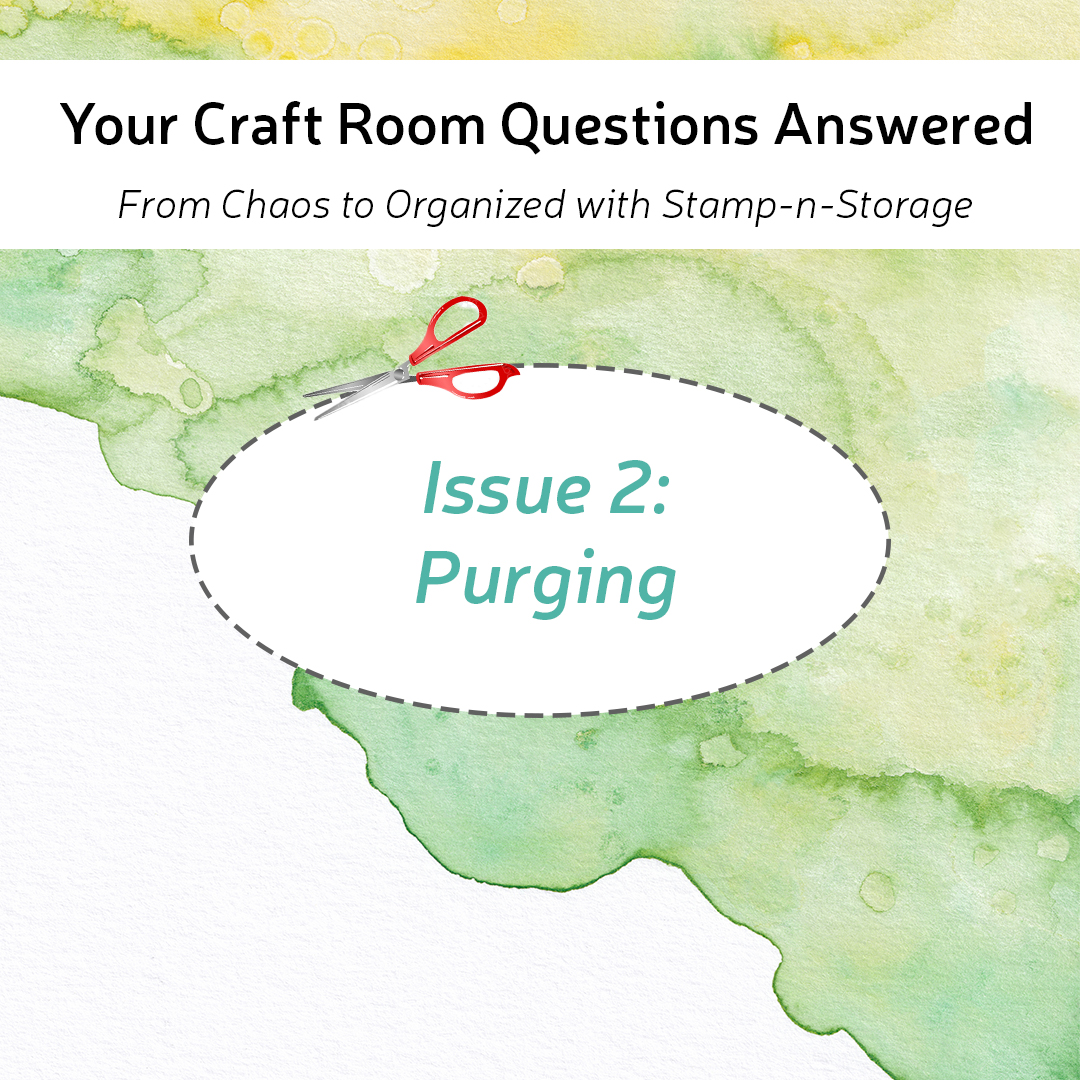
Your Craft Room Questions Answered: Issue 2: Purging
Purging is often a necessary process for most craft spaces, but many crafters find themselves too overwhelmed to start. How should you navigate the daunting process of purging your supplies? Keep reading to find out our five favorite ways to tackle this important task!
Sort Your Supplies
For crafters who like to keep things organized as they craft, tossing supplies into piles during the purge process might be a difficult ask. On the other hand, sorting your craft supplies into piles doesn’t have to be as disorganized and haphazard as it might sound. Try mapping out spaces for specific categories of items, like “ready to donate” and “never used”, or sort your piles by brand, color, size, or quantity. This is just the first step to get you started, so create your piles in whatever way causes the least amount of stress for you.
Go easy on yourself, take this process in stages, and create a plan for tackling each category one at a time. Remember, you can declutter by category or by zones. Take a look at your supplies and your space and decide which method makes the most sense for you. You are doing something important, and your future self will thank you for it. An organized craft space is a creative craft space, so get excited about working towards your most creative self!
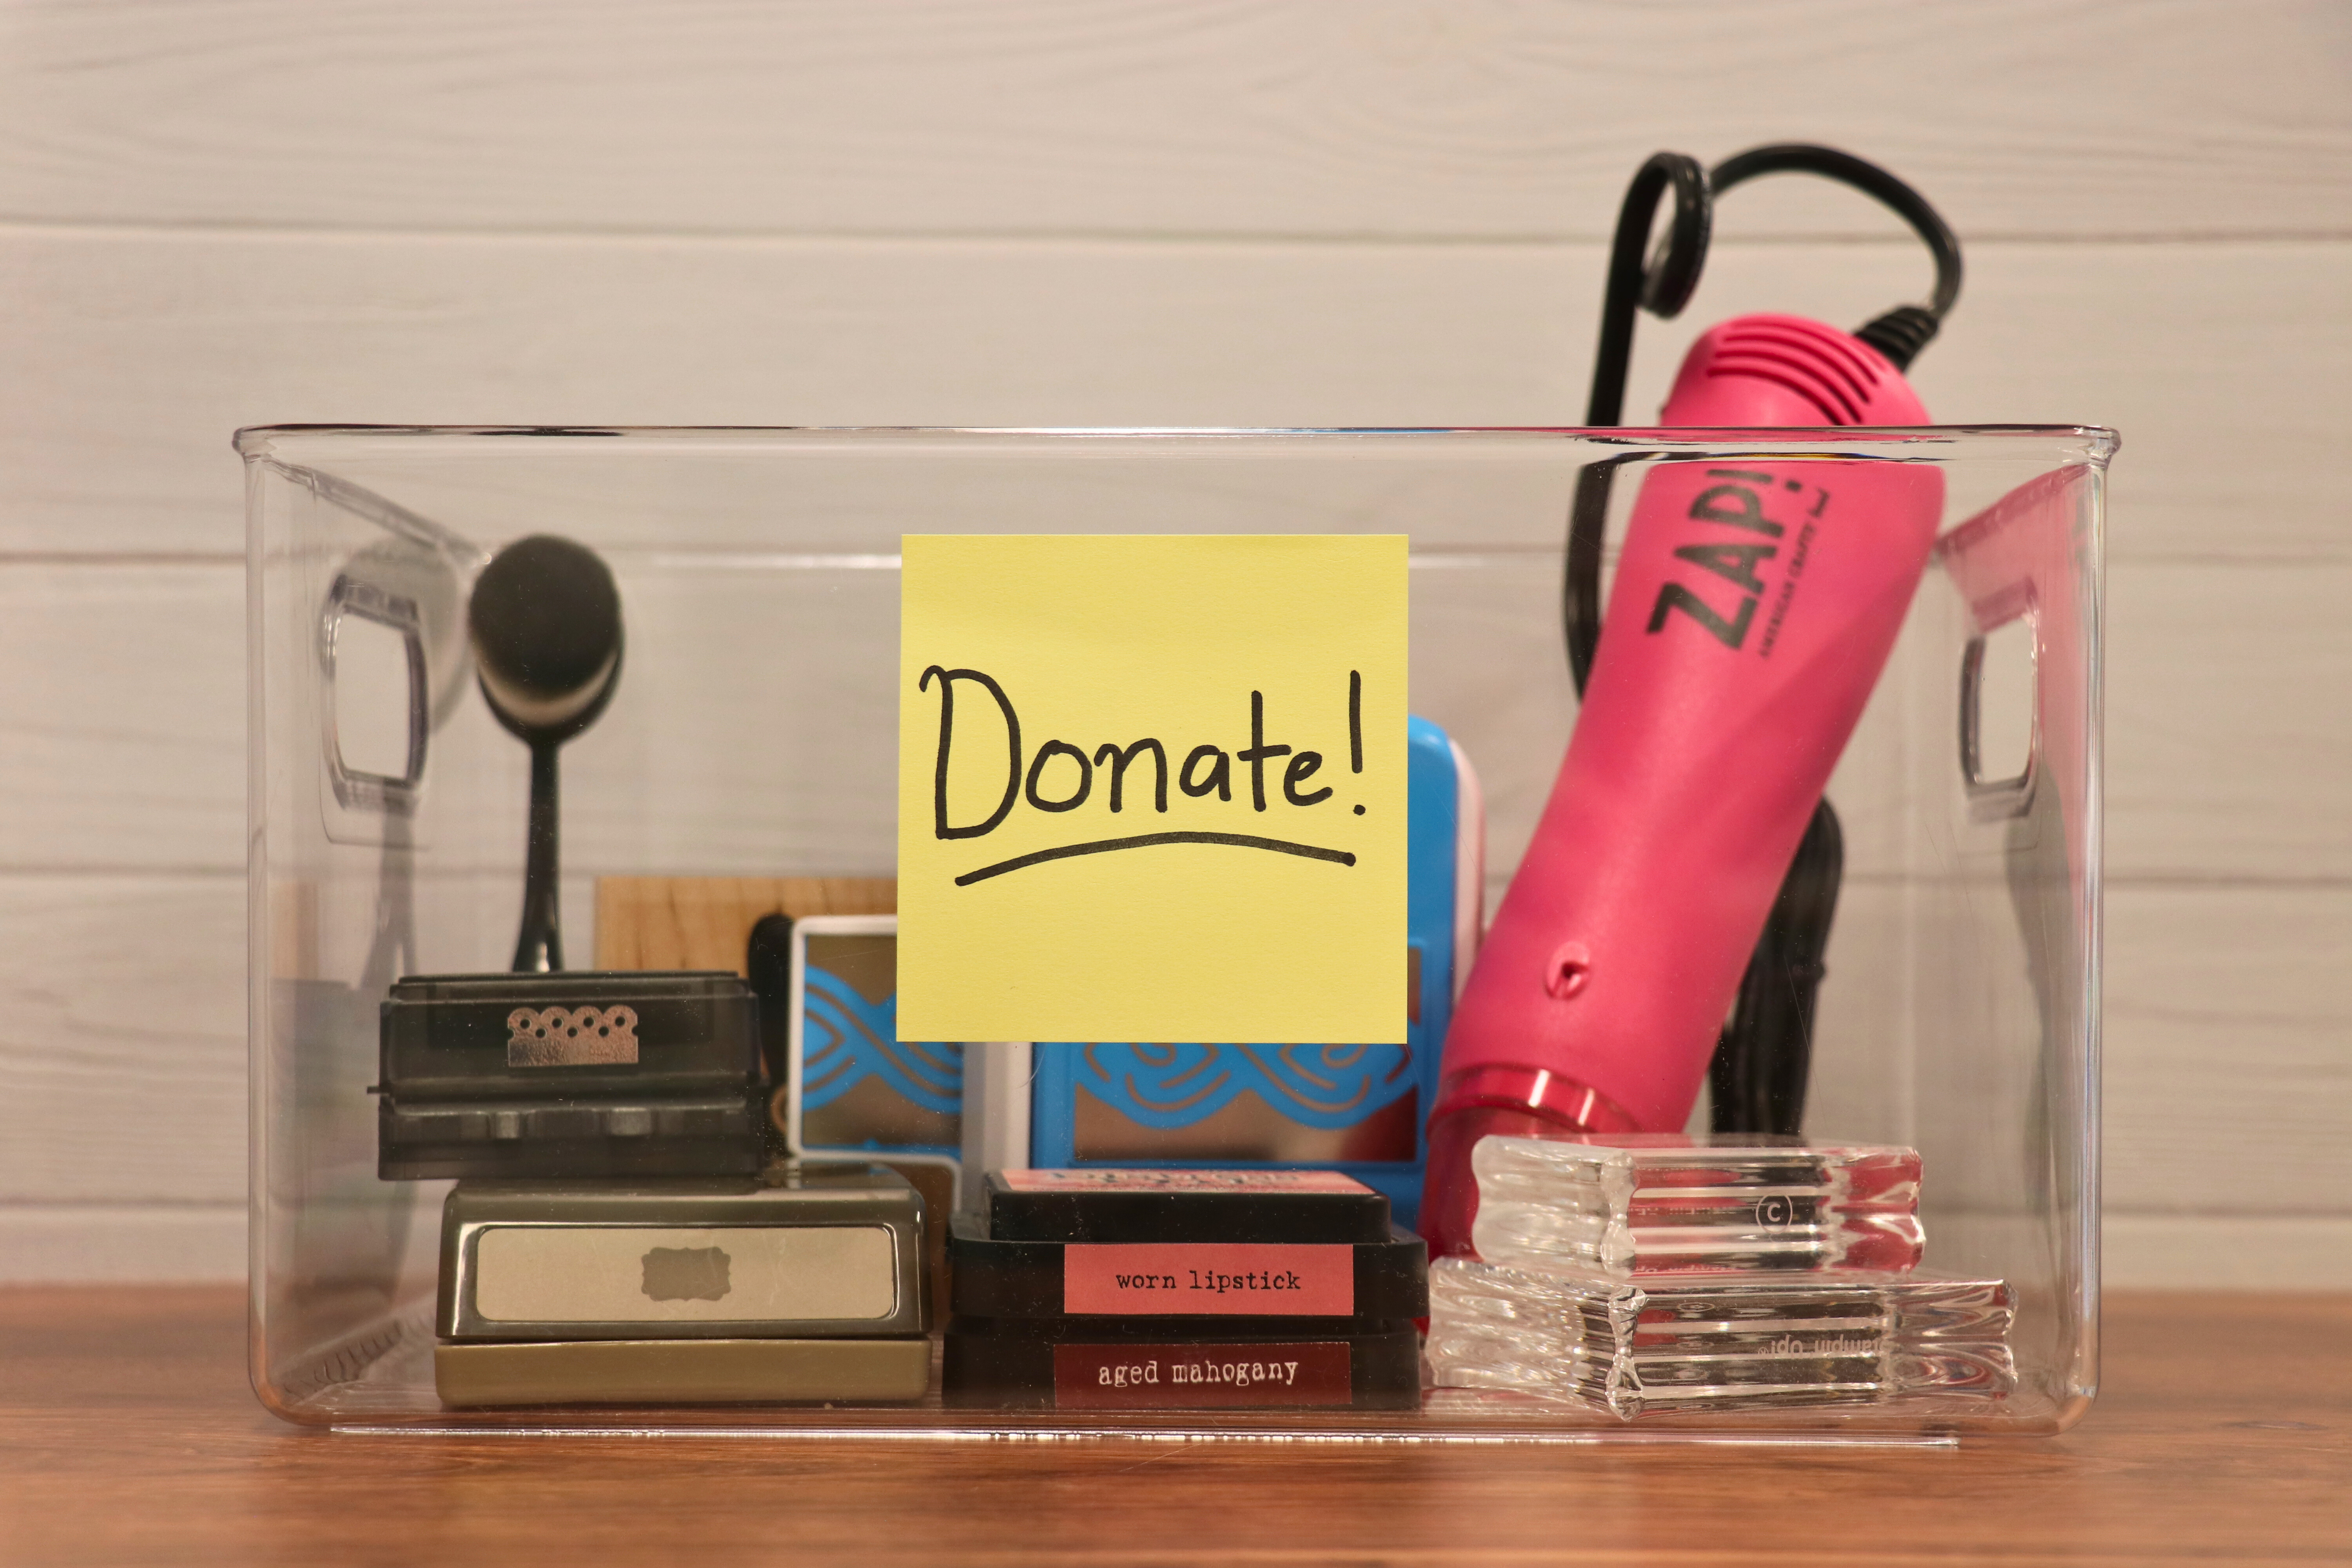
Donations
There are a lot of great places to look into when you are ready to say goodbye to your donate pile! Facebook Marketplace and groups local to your area are perfect for gauging interest and finding people to donate or sell your items to. Other options include selling on eBay, contributing to a local rummage sale, or hosting/joining a garage sale in your neighborhood. Keep a donation box handy so that you can add to it as needed throughout the year.
The Hide it Method
It can be hard to say goodbye to stamps, dies, stencils, and patterns that, at one point, you were so excited to use. If you find yourself hanging on to supplies that have been sitting and collecting dust, try using the “Hide it Method”. This method involves taking your seldom or never-used supplies and hiding them away for six months to a year. After this time, whatever products you didn’t miss, forgot about, or never needed should be given away.
Trash vs. Treasure
Another challenge in the purging process is deciding whether or not items are trash or treasure. For example, dried-up markers and stamp pads are hard to get rid of when you have refills that can still be used to bring them back to life. A good rule of thumb for dried-up supplies is that if the refills for that specific item or color are no longer being produced, you should pitch it.
Limit Duplicates
One last item to consider when purging your craft room is duplicates. As your collection of crafting supplies grows, it can be hard to remember all of the specific embellishments, paper patterns, and stencils you've purchased. To keep yourself from buying duplicates, be sure to keep an updated Craft Inventory Chart on hand. If you do end up with a few duplicates, consider adding the extras to your donation box.
Thanks for reading the second issue of our new series: Your Craft Room Questions Answered: From Chaos to Organized with Stamp-n-Storage. Stay tuned for more answers to your biggest craft room problems, and get ready for Issue #3 where we talk about all things paper!